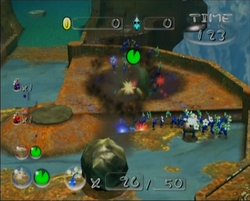
Brawny Abyss
Jump to navigation
Jump to search
| Brawny Abyss | |||
|---|---|---|---|

| |||
| Sublevels | 2 | Ultra-bitter sprays | 1 |
| Red Pikmin | 0 | Ultra-spicy sprays | 1 |
| Yellow Pikmin | 0 | ||
| Blue Pikmin | 50 | ||
| White Pikmin | 0 | ||
| Purple Pikmin | 0 | ||
| Bulbmin | 0 | ||
The seventh level in Pikmin 2's Challenge Mode.
Sublevel 1
Use the larva to kill the other enemies. Then take out the larva itself. Your Pikmin will be safe after they are thrown off, since they will hug the wall and the boulder will fly over them. Get the treasure near the hole (should the hole pop up at the back near the Bulborbs) for some extra Pokos. Watch out when pressing "A" at the hole. Pikmin are often thrown instead and will drop down to death.
Sublevel 2
The Decorated Cannon Beetle has the key. Use a bitter spray if you like, or use the Cannon Beetle to defeat some enemies (and/or itself). As always, the treasures aren't necessary, but if desired, there is plenty of time to get them.