The Final Trial
| The Final Trial | |
|---|---|
| |
| Ship parts | 1 |
| Requirements | Collect 29 ship parts |
| Music | {{{music}}} |


The Final Trial is the last area to be accessed in Pikmin. On the area selection menu, it is across a small body of water from the other areas, and has radically different terrain. It only has one part and is almost enemy-free, save the Emperor Bulblax, which holds the last ship part, the Secret Safe.
It should be noted that this area, in a way, tests the player's knowledge on the Pikmin. Fom the landing site, the area "splits" into three paths. The left path focuses on Red Pikmin, due to the fire geysers. The center path contains water which only Blue Pikmin can traverse through. And the path on the right contains bomb-rocks, which only Yellow Pikmin can hold.
Despite this, the level can be completed purely with Yellow Pikmin. This is done by making the Pikmin "swim" to the bridges, and by throwing them over the slanted part of the metal wall between the second bridge and the box, then making the Pikmin run over to said box.
Since Pikmin cannot be produced here unless the boss is killed, three Candypop Buds are present at the landing site next to the Yellow Onion. Each one can change 50 Pikmin before wilting.
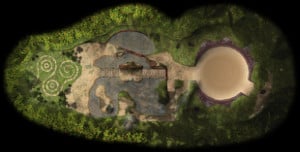
General layout
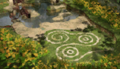
To the south lies the landing site, along with three different colored Candypop Buds. In the center lies a small pool of water. To the west of it, there is a narrow path with fire geysers. To the east are a group of small islands with bomb-rocks. In the middle of the pool are two bridges and a normal stone gate. To the north is a cardboard box.
The arena where the Emperor Bulblax is fought and a wall that leads to three pipes with several bomb-rocks lies at the northernmost part of the area. On the far west of the pool is a ledge with no hazards, meaning Olimar can throw additional Pikmin onto the ledge, then run down to collect them when he reaches the end of the main path. Bomb-rocks in this area are found in pipes. One is on a high place to the right of the starting point. There are three other pipes in the cliffs surrounding the arena where the Emperor Bulblax is fought.
In Challenge Mode, a Yellow Wollywog is found in the pool, and a Beady Long Legs attacks Olimar after he enters the arena. A Burrowing Snagret is found in the cliffs around it. Smaller enemies are found around Olimar's base, such as a Dwarf Red Bulborb, Dwarf Bulbears, and Sheargrubs. Unlike in the other levels, 100 Pikmin are already present on the map, buried in various locations.
Enemies
Challenge Mode Breakdown

| Pikmin Source | Seeds | Amount | Total |
|---|---|---|---|
| Starting Reds | 34 | 34 | |
| Starting Yellows | 33 | 33 | |
| Starting Blues | 33 | 33 | |
| Red 1 Pellets | 2 | 1 | 2 |
| Red 5 Pellets | 5 | 1 | 5 |
| Red 10 Pellets | 10 | 2 | 20 |
| Yellow 1 Pellets | 2 | 1 | 2 |
| Yellow 5 Pellets | 5 | 1 | 5 |
| Yellow 10 Pellets | 10 | 2 | 20 |
| Blue 1 Pellets | 2 | 1 | 2 |
| Blue 5 Pellets | 5 | 1 | 5 |
| Blue 20 Pellets | 20 | 1 | 20 |
| Beady Long Legs | 40 | 1 | 40 |
| Burrowing Snagret | 29 | 1 | 29 |
| Dwarf Bulbear | 5 | 1 | 5 |
| Dwarf Red Bulborb | 4 | 4 | 16 |
| Female Sheargrub | 2 | 3 | 6 |
| Male Sheargrub | 3 | 3 | 9 |
| Yellow Wollywog | 13 | 10 | 130 |
| Total | 299 |
Ship parts
Gallery
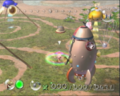
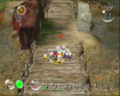
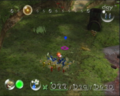
The landing site.
East of the landing site.
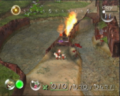
The fiery path in which Red Pikmin are needed.
The easternmost island.
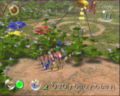
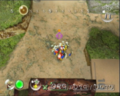
The two central bridges and the central island.
Part of the large body of water on the area.
The section before the Emperor Bulblax arena.
The ledge where bomb-rocks can be found, used to take down the gates.
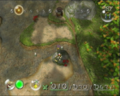
The Emperor Bulblax, burrowed.
Eastern section of the Emperor Bulblax arena.
Northern section of the Emperor Bulblax arena.
Western section of the Emperor Bulblax arena.
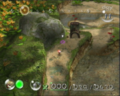
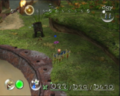
Westernmost path of the area.

The bomb-rock island.

The Final Trial in Challenge Mode.
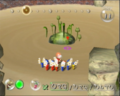
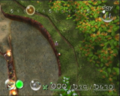
Preview image on the area selection menu.
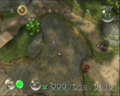
Overview map.

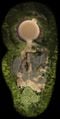
The radar pattern for the Final Trial.


Trivia
- The terrain and surroundings of this area, along with the terrain and surroundings of the Impact Site, make up the layout for the Wistful Wild in Pikmin 2, with the exception of the places where the two map layouts meet.
- Strangely, a Bulborb appears here in the end of day cutscene, as well as in the perfect ending, despite the only visible Grub-dog in the area being the Emperor Bulblax.
| The Final Trial | |
|---|---|
|
Click an object |
|
| Pikmin areas |
|---|
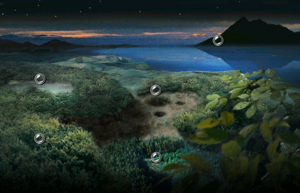 Click an area on the image
The Impact Site • The Forest of Hope • The Forest Navel • The Distant Spring • The Final Trial animtest • codetest • E3play_3 • map_06 • play_4 • route • shapetst • testmap • tuto1 • tuto2 |